Hi Rosa,
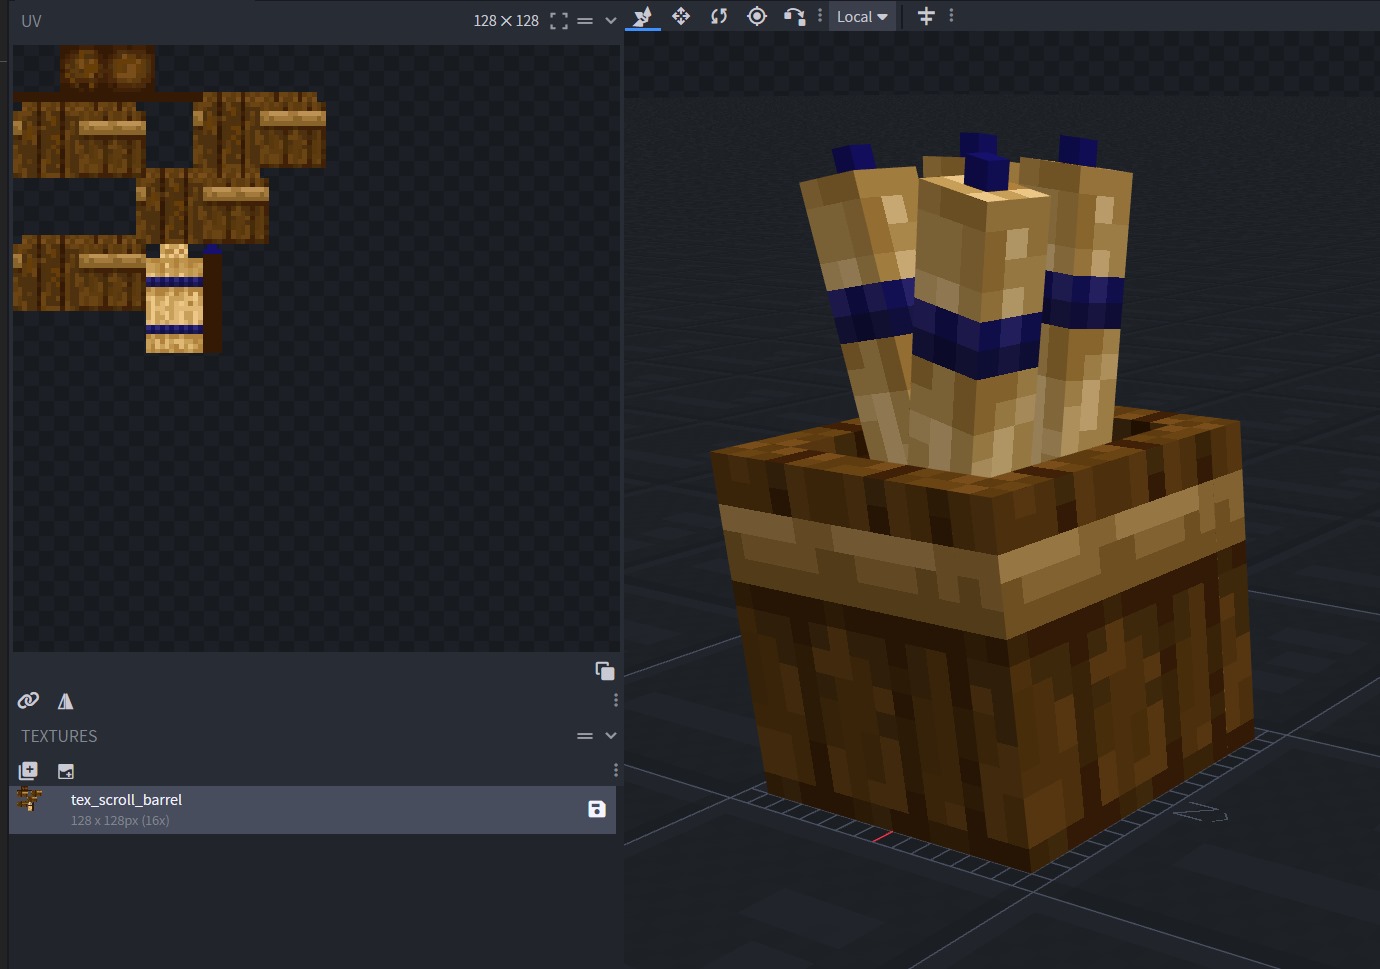
Those lines you also see in your first picture, blurred though. They are caused by ‘bleeding’ on the seams of the UV. Most software where you can paint UV maps have an option to export maps with ‘padding’. Which basically makes the texture overlap the edges of the UV.
That’s needed to prevent the bleeding since your 3D model is a polygon object and the bitmap gets projected on that shape. Since there are no half pixels it will show the edge of the black background if you for example are zoomed in a certain amount.
I’m not sure if Blockbench supports padding although I found this on Reddit:
If you see thin lines on some edges of your model that should not be there, that is caused by an effect called Texture Bleeding. Some of the color of the neighboring pixels on the texture are visible where they should not be. In most cases, this artifact is caused by anti aliasing (MSAA), a technique to smooth the edges of your model in the render.
There are several ways to solve this:
• If you just want to get rid of the lines in the Blockbench preview or in screenshots, you can disable “Anti Aliasing” in the Blockbench settings. Make sure to restart the program after changing the setting.
• If you want to export your model into Minecraft or another game or application, the effect is often less (and sometimes more) noticeable. To fix it in the model, install the Blockbench plugin Plaster , then select the cubes you want to fix and go to Filter > Plaster. This does not work in Box UV mode.
• Another way to preemptively reduce texture bleeding is to leave a gap between your UV sections. The Blockbench template generator comes with a “Padding” option that let’s you do this.
Here is an image of something I did which shows the padding compared to the actual wireframe/UV of the model:
So you see the colors are repeated over the edges into the black for like 16 pixels. That amount is not really a strict value, few pixels are sometimes enough. Since your texture is pixelated anyway you could also just make a few selections in Photoshop and stretch the sides into the black manually.
Hope this helps!